Custom Skybox
-
Highly Optimized
The method in creating this sky sphere uses a very efficient way to save resources.
-
3D -> 2D
Rendering 3D Geometry Clouds into a 2D texture.
-
Custom Composition
Ability to use any Mesh with any composition that works efficiently.
This Cloud Tool uses a Blueprint Tool in unison with a few Material Graph’s to achieve this cheap yet stunning look.
Iteration #1
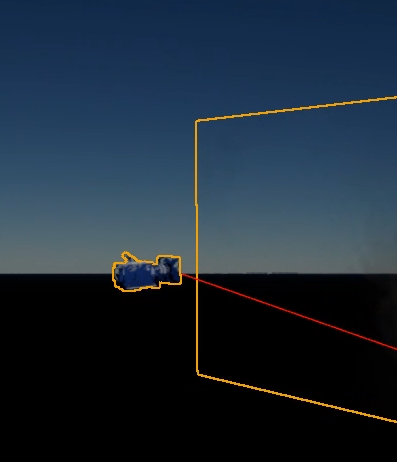
This video shows a very early iteration of this Custom Cloud Sky Tool. It uses an Offscreen buffer which stores the information into a Render Texture. This 2D texture can then be projected in a material acting as the sky sphere.
This gave me the ability to use 3D models, stored into a 2D texture, allowing for a higher grain of detail, full control over the composition of the sky, as well as a very optimised sky sphere.
Additionally, another optimisation for this cloud tool involved implementing a camera mask. This approach allowed the camera to render only the designated areas within the mask, further enhancing performance through reducing unnecessary processing
Iteration #2
This next iteration implemented several new features including:
– Custom Gradient Sky Atmosphere
– Rim Highlight around clouds closest to the sun
– More cloud variations and noise maps
– Colours adjusted by the Sun’s atmospheric position
Iteration #3
This third iteration focused on:
– New cloud meshes
– More refined composition
– Sunlight Light Rays
Iteration #4
This final iteration of the Clouds concentrated on refining establishing work:
- Improving Cloud Meshes and Composition
- Adjusting Colours
- Using Flow Maps to direct the displacement of the clouds